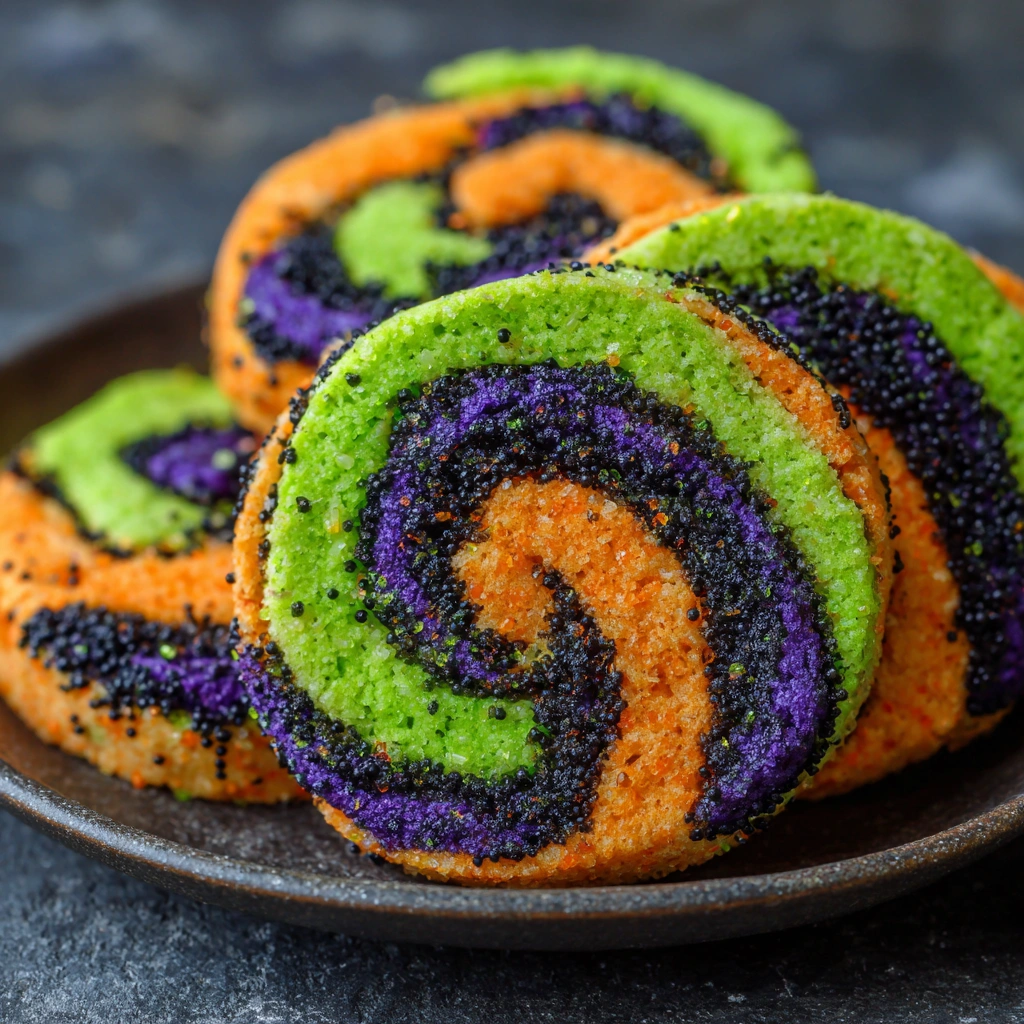
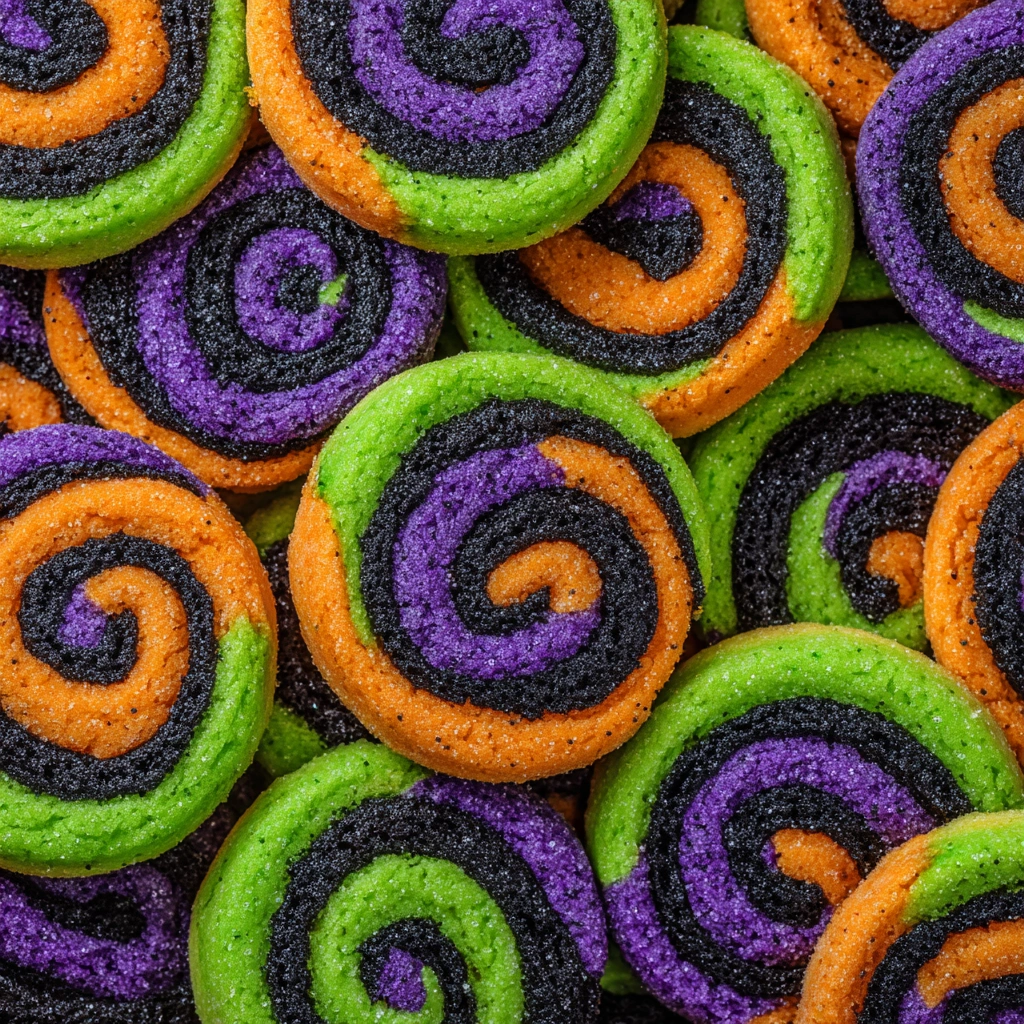
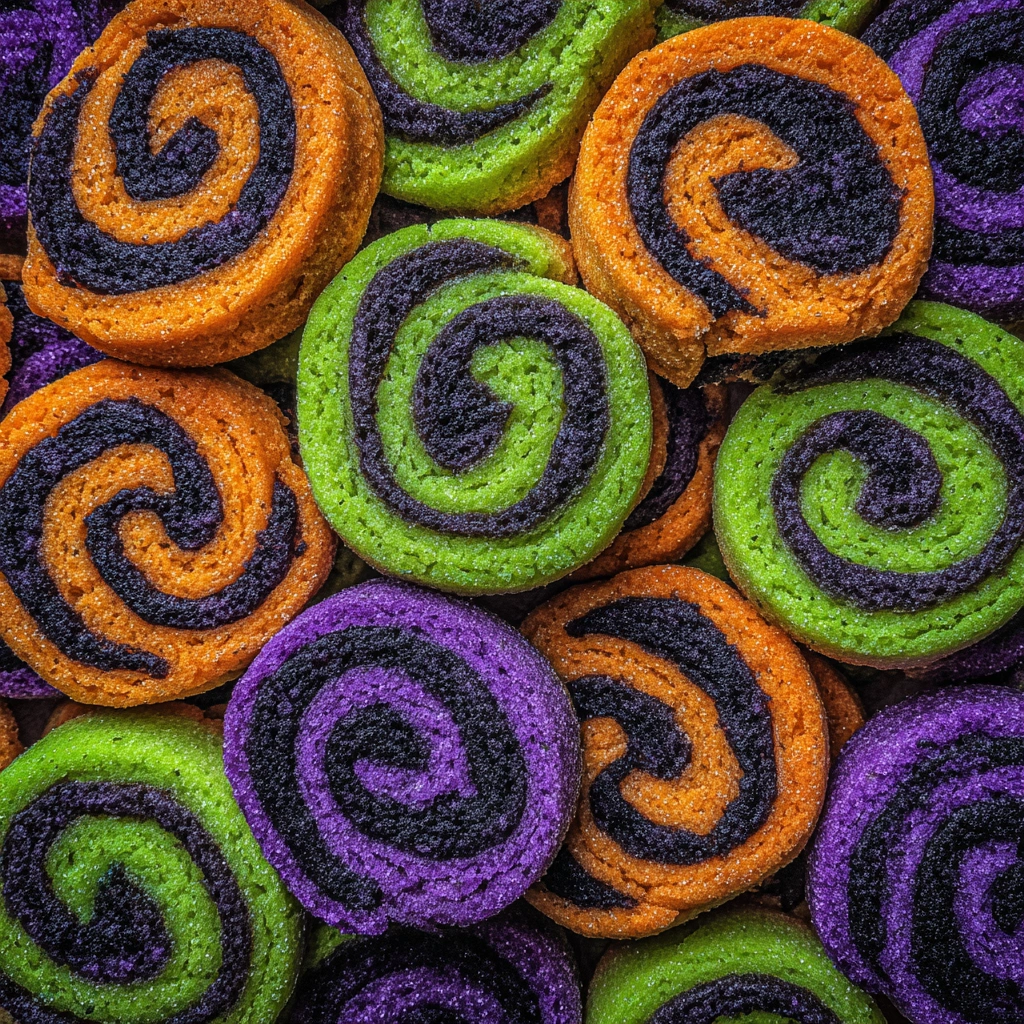
Halloween Pinwheel Cookies spark a festive swirl of color and nostalgia, a perfect pick for busy families and professionals who want a show-stopping treat without a marathon in the kitchen. I’m a chef who runs a practical meal-prep mindset, so this recipe blends classic sugar-cookie comfort with quick, make-ahead steps and kid-friendly, eye-popping swirls. With four gel colors—orange, green, purple, and black—these cookies transform a simple batch into a WOW moment on a platter or at a party. You can prepare the dough in stages, freeze a log, and bake in minutes, making it easy to adapt to a hectic schedule. Read on to master the swirl magic and bring Halloween energy to your table.
Table of Contents
Table of Contents
What Make This Recipe It Special
Halloween Pinwheel Cookies are my little cape-and-cookie moment on a busy week. I know weeknights feel crowded, and I want treats that don’t steal time. They blend classic sugar-cookie comfort with a quick, make-ahead approach. Four gel colors swirl into eye-popping pinwheels, perfect for parties or gifts. That’s why I reach for Halloween Pinwheel Cookies on my busiest days and gatherings. I love that they come together fast; you can freeze a log and bake in minutes.
Why this pinwheel approach stands out
The pinwheel magic hides in plain sight. Layer four colors into a single log, then slice to reveal candy-bright spirals. There’s no fussing with intricate piping or fondant. Plus, you can prep in batches, freeze a log, and bake when guests arrive.
Why You’ll Love This Recipe
I love how this recipe fits real life, even on the busiest week.
Halloween Pinwheel Cookies deliver flavor that kids and grown-ups adore, without chaotic prep.
You get bright swirls, a soft, buttery texture, and a smile in minutes.
Quick, kid-friendly, and party-ready
You’ll prep Halloween Pinwheel Cookies ahead, freeze a log, and slice in minutes.
Kids love the rainbow swirls, and you’ll love the minimal mess.
It’s a crowd-pleaser that looks like a chef’s showpiece, not a chore.
Ingredients
Here are the ingredients you’ll need to assemble the Halloween Pinwheel Cookies. I like to keep my pantry simple, so you can mix, color, and swirl quickly. Exact quantities are listed at the bottom for print-friendly convenience.
- 2 ½ cups all-purpose flour — provides structure for even pinwheels.
- 1 tsp baking powder — helps the cookies stay soft and lift a touch.
- ½ tsp salt — enhances flavor and keeps sweetness balanced.
- 1 cup unsalted butter, softened — creates a tender, melt-in-your-mouth texture.
- 1 cup granulated sugar — sweetest base for a buttery crumb.
- 1 large egg — binds the dough and adds moisture.
- 1 ½ tsp vanilla extract — brings warm, cozy aroma.
- Gel food coloring: orange, green, purple, and black — for vibrant Halloween swirls. Use gel or paste colors, not liquids, to keep dough firm.
- Optional: 1–2 tablespoons milk or cream — add only if coloring makes the dough stiff.
- Optional substitution — dairy-free: use 1 cup dairy-free butter substitute; replace egg with a flax egg if needed.
- Tip: If you can’t find gel colors, paste colors work too; liquids can alter dough.
How to Make Halloween Pinwheel Cookies
I’ll guide you through the step-by-step method I use to craft the swirl magic of Halloween Pinwheel Cookies. These are simple, practical, and perfect for a busy day.
Step 1: Prepare Dry Ingredients
In a medium bowl, whisk together 2 ½ cups flour, 1 tsp baking powder, and ½ tsp salt. Set the mixture aside.
Whisking helps the dry ingredients stay even, so your pinwheels bake uniformly.
Step 2: Cream Butter and Sugar
In a large bowl, beat 1 cup softened butter with 1 cup sugar until light and fluffy, 2–3 minutes.
Scrape the sides of the bowl as needed for a smooth base before adding the egg and vanilla.
Step 3: Beat in Egg and Vanilla
Beat in 1 large egg and 1 ½ tsp vanilla until the mixture is creamy and well combined.
A well-incorporated mixture keeps the dough tender and easy to mold.
Step 4: Add Dry Ingredients and Form Dough
Gradually mix in the dry ingredients until a cohesive dough forms. Do not overmix.
If the dough seems sticky, wrap and chill 15–20 minutes to help it firm up.
Step 5: Color the Dough
Divide the dough into four equal portions and tint each with orange, green, purple, and black gel color. Knead until colors are even.
If colors stiffen the dough, add a tiny splash of milk or cream to loosen.
Step 6: Roll, Stack, and Freeze Halloween Pinwheel Cookies
Roll each colored dough into a ¼-inch-thick rectangle. Stack them in your preferred order and trim edges to match.
Carefully roll into a log, wrap tightly, and freeze for 30 minutes to set the layers.
Step 7: Bake Halloween Pinwheel Cookies
Preheat to 350°F (175°C) and line baking sheets with parchment.
Slice the chilled log into ¼-inch rounds and place them on the sheets.
Bake 9–11 minutes, until just set but not browned. Move to a wire rack to cool.
Step 8: Cool and Slice Halloween Pinwheel Cookies
Let the cookies cool completely before serving or stacking for storage. Enjoy the bright, crisp swirls and soft centers.
Tips for Success
Snappy tips in bullet form for best results
- I chill the dough 15–20 minutes for pinwheels.
- I keep colors in equal portions for vivid swirls.
- I use gel colors, not liquids, to avoid runny dough.
- I roll dough to 1/4 inch for even bake.
- I freeze the log 30 minutes before slicing.
- I slice evenly and trim edges to prevent color bleed.
- I bake at 350°F, just-set edges, then cool.
- I store cookies between parchment layers.
Equipment Needed
Must-have tools and practical swaps
- Stand mixer with paddle attachment or hand mixer as substitute.
- Mixing bowls (two sizes).
- Rolling pin; alternative: wine bottle in a pinch.
- Parchment paper or silicone baking mat.
- Bench scraper for neat edges.
- Plastic wrap or airtight containers for chilling logs.
- Cooling rack.
- Cutting board or clean surface for rolling.
Variations
Flavor and dietary twists for different gatherings
- Dairy-free and egg-free option for Halloween Pinwheel Cookies: swap in dairy-free butter and flax egg.
- Gluten-free version: use a 1:1 gluten-free flour blend; texture may shift, chill well.
- Citrus lift: add 1 teaspoon lemon or orange zest for bright, fresh notes.
- Autumn warmth: a pinch of cinnamon or pumpkin spice enhances the Halloween vibe.
- Texture play: roll log thicker or thinner for dramatic swirls, then slice evenly.
- Decoration options: glaze or drizzle after baking; add candy eyes or edible glitter.
- Make-ahead party batch: freeze colored logs and bake from frozen for easy gatherings.
- Kid-friendly color swaps: try pink, blue, or yellow for non-Halloween celebrations.
Serving Suggestions
I love presenting Halloween Pinwheel Cookies on a spooky platter with a splash of color. Pair them with hot cider or a cinnamon latte to echo the season’s scents. For kids, set up a mini cookie bar with different toppings.
- Arrange in a fan for a dramatic centerpiece.
- Serve with cocoa speckled with crushed cookies.
- Offer a small jar of orange sprinkles as gifts.
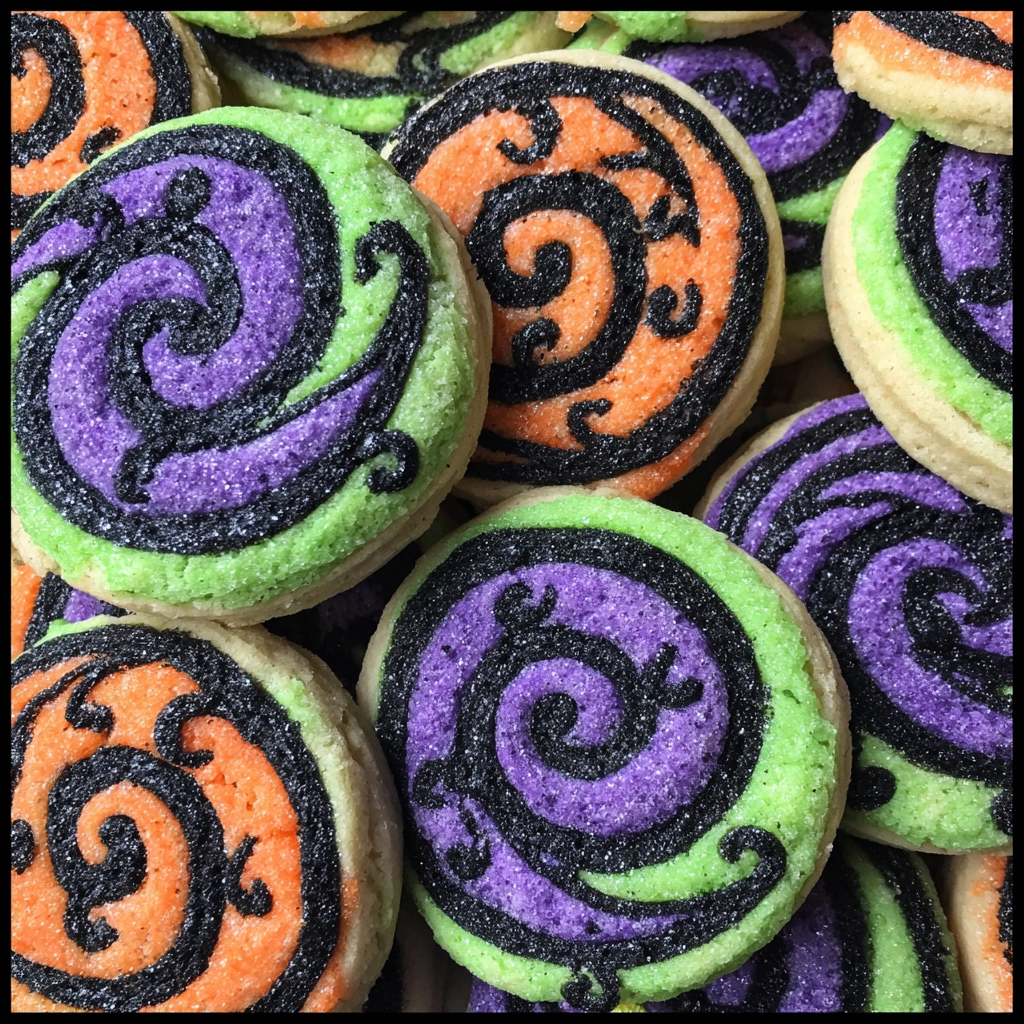
Decorating Ideas for Halloween Pinwheel Cookies
- Drizzle a thin orange glaze over cooled Halloween Pinwheel Cookies for a glossy finish.
- Dot white icing to make playful jack-o’-lantern faces on select cookies.
- Sprinkle edible glitter or sanding sugar to add subtle spooky shimmer.
- Place tiny candy eyes on a couple for a charming, friendly fright factor.
- Use edible markers to draw simple bats, moons, or pumpkins on centers.
Storing and Freezing Halloween Pinwheel Cookies
When I know I won’t serve them right away, I store baked cookies in an airtight container at room temperature for up to 3 days. I layer with parchment between cookies to prevent sticking and keep them away from direct heat or sunlight.
For longer storage, I freeze the unbaked logs wrapped tightly in plastic, then foil, up to 2 months. Thaw briefly before slicing and baking as directed, or bake from frozen, adding one to two minutes as needed.
Elevate Your Halloween Pinwheel Cookies Experience with Party-Ready Swirls
I love turning Halloween Pinwheel Cookies into party-ready swirls. A simple tray becomes a centerpiece with bright colors and tidy edges.
- Plate in a cascading fan on a neutral platter to highlight the swirls and color contrast.
- Stack cookies in clear treat boxes tied with orange ribbon, perfect for gifting or party favors.
- Tuck in a few mini pumpkins or autumn leaves as accents for a seasonal vibe.
- Label flavors with small chalkboard tags for easy browsing and quick selection.
- Pair with warm drinks like cinnamon latte or spiced cider to complete the tasting mood.
Additionally, pack a batch with parchment between cookies and a simple care guide for transporting.
It’s amazing how color and ease spark smiles.
FAQs
Can I adapt Halloween Pinwheel Cookies for dairy-free or egg-free diets?
Yes. For dairy-free and egg-free versions, swap butter with a dairy-free butter substitute and use a flax egg (1 tablespoon ground flaxseed mixed with 3 tablespoons water, let it thicken for about 5 minutes).
If you go dairy-free, you might need a splash of milk substitute to loosen the dough if it stiffens. A 1-to-1 gluten-free flour blend works, but the texture may shift slightly. The key is to chill the dough so the bright pinwheel layers stay neat.
Do I need to chill the dough, or can I skip it?
Chilling is best for crisp, defined swirls. If you’re rushed, wrap the dough and chill 15–20 minutes, or freeze the log for 30 minutes. Skipping chilling can cause the layers to smear and the cookies to bake unevenly.
Can I prepare ahead and freeze the dough or baked cookies?
Yes. Color and roll the dough, then stack and freeze the log for up to a month. Bake from frozen, adding 1–2 minutes. You can also bake the cookies and freeze them; rewarm gently in a low oven to refresh the texture.
Where can I source gel coloring, and are there good substitutions?
Look for gel or paste colors in the baking aisle—orange, green, purple, and black work perfectly for Halloween Pinwheel Cookies. If gel isn’t available, paste colors work too. Avoid liquid colors, which can loosen the dough and blur the swirls.
Final Thoughts
The party-ready payoff and practical memory-making
After baking, I’m filled with a warm rush at the first swirl. Halloween Pinwheel Cookies pair speed with charm, perfect for parties. I love packing a dozen for friends and teachers.
The real magic lies in memory-making. Each swirl becomes a story we tell later at the table. A log prepped ahead means more time to listen, laugh, and linger. When friends glimpse the vibrant swirl, conversations start and memories drift into the kitchen. That simple swirl turns a cookie into a memory people carry home.
Print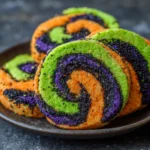
Halloween Pinwheel Cookies spark 3 Easy Fun Bold delights.
- Total Time: ~1 hour 5 minutes
- Yield: ~24 cookies
- Diet: Vegetarian
Description
Halloween Pinwheel Cookies are soft, buttery sugar cookies with colorful Halloween swirls for a festive treat.
Ingredients
- 2 ½ cups all-purpose flour
- 1 tsp baking powder
- ½ tsp salt
- 1 cup unsalted butter, softened
- 1 cup granulated sugar
- 1 large egg
- 1 ½ tsp vanilla extract
- Gel food coloring: orange, green, purple, and black
Instructions
- In a medium bowl, whisk together flour, baking powder, and salt. Set aside.
- In a large bowl, cream together butter and sugar until light and fluffy. Add egg and vanilla, mixing well.
- Gradually mix in the dry ingredients until dough forms.
- Divide dough evenly into 4 portions. Tint each with a different gel food color (knead until evenly colored).
- Roll each colored dough into a rectangle, about ¼ inch thick. Stack them in your desired order, trimming edges to match.
- Carefully roll into a log, wrap tightly in plastic wrap, and freeze for 30 minutes.
- Preheat oven to 350°F (175°C) and line baking sheets with parchment paper.
- Slice chilled dough into ¼-inch rounds and place on baking sheet.
- Bake 9–11 minutes, until just set but not browned. Cool on wire rack.
Notes
- For best results, chill the dough before rolling to help the pinwheel layers stay neat.
- Use gel food coloring for vibrant colors; avoid liquid colorings that can soften the dough.
- Keep dough thickness uniform at about ¼ inch for even baking.
- Store in an airtight container at room temperature for up to 3 days.
- Prep Time: 25 minutes
- Cook Time: 10 minutes
- Category: Cookies
- Method: Bake
- Cuisine: American
Nutrition
- Serving Size: 1 cookie
- Calories: Approximately 150 kcal
- Sugar: Approximately 9 g
- Sodium: Approximately 70 mg
- Fat: Approximately 4 g
- Saturated Fat: Approximately 2 g
- Unsaturated Fat: Approximately 2 g
- Trans Fat: 0 g
- Carbohydrates: Approximately 21 g
- Fiber: Approximately 1 g
- Protein: Approximately 2 g
- Cholesterol: Approximately 8 mg
Keywords: Halloween pinwheel cookies, Halloween cookies, colorful cookies, sugar cookies, pinwheel cookies, kids party treats, festive cookies