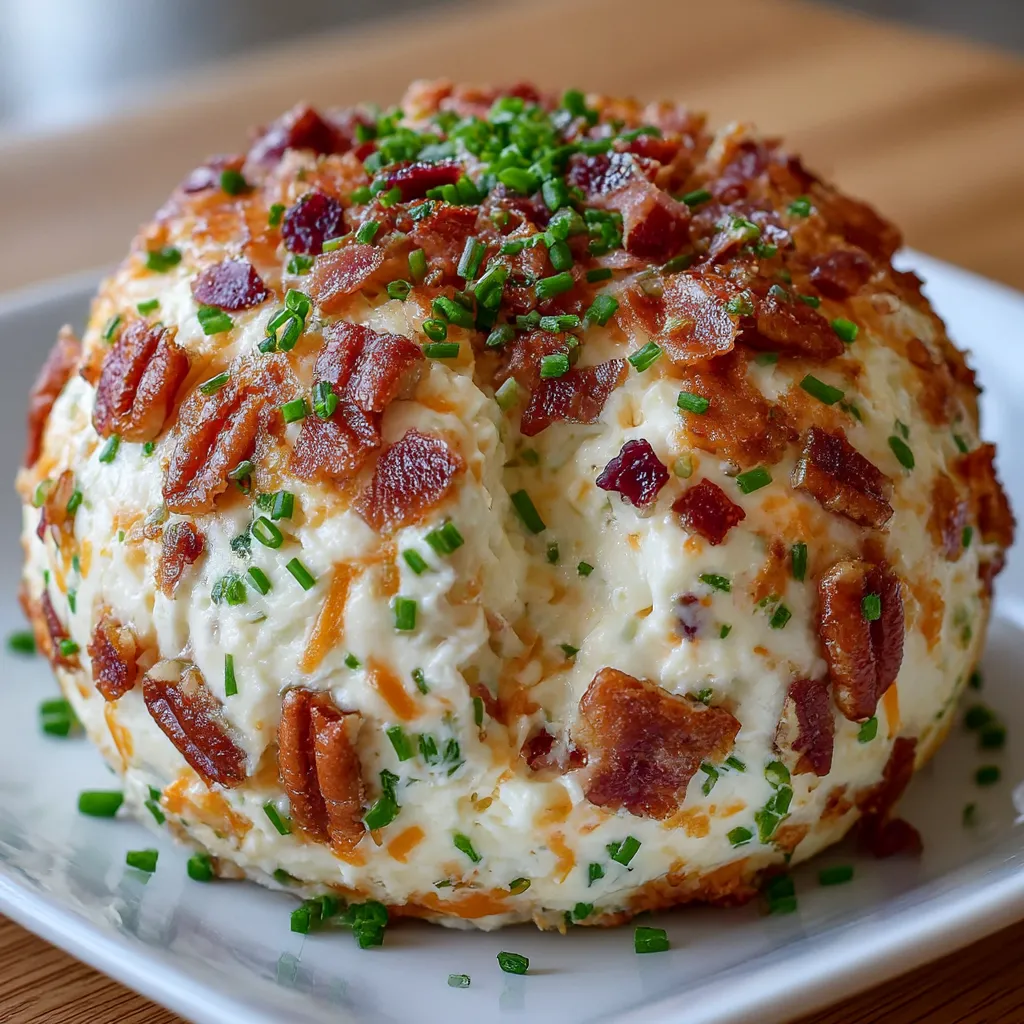
Jolly Christmas Cheese Ball is my holiday centerpiece for simple, joyful entertaining. As a chef, I help busy moms balance flavor with a full schedule. It blends cream cheese, cheddar, green onions, red peppers, and nuts for a festive bite.
Table of Contents
Table of Contents
Jolly Christmas Cheese Ball: what makes this recipe special
When the holidays swirl around my kitchen, I reach for the Jolly Christmas Cheese Ball. It looks festive, tastes indulgent, and it comes together with almost no fuss. This no-bake centerpiece fits my busy schedule while still delivering wow at the table.
Step into my kitchen notes and you’ll see why I love it: creamy, colorful, and flexible enough to suit a dozen dining styles. I can prep the base ahead, then finish with a quick coat and decorate right before service. It’s a party saver that keeps my sanity intact during the busiest weeks.

Step 1
Gather and blend the base
This no-bake starter blends cream cheese, cheddar, green onions, roasted red peppers, optional nuts, garlic powder, and pepper until smooth and cohesive. I love how the colors pop and the flavors mingle, making it a crowd-pleaser even before guests arrive. Best of all, I can mix this ahead and stash it in the fridge for later assembly.
Step 2
Shape and chill
Lay out plastic wrap and scoop the cheese mixture onto it. I shape it into a ball and wrap tightly so it holds its form. Refrigerate for at least an hour to firm up for clean slicing and neat presentation.
Step 3
Coat and decorate
After chilling, I roll the ball in chopped parsley until fully coated. I decorate with red peppers, green onions, or dried cranberries to add Christmas color and photo-worthy flair. Slice and serve with crackers, pretzels, or fresh veggies.
Jolly Christmas Cheese Ball: Ingredients
Here’s everything you’ll need to assemble this Jolly Christmas Cheese Ball.
- 16 oz cream cheese, softened
- 1 cup shredded cheddar cheese
- 2 green onions, finely sliced
- ¼ cup finely chopped roasted red peppers
- ¼ cup chopped pecans or walnuts (optional for crunch)
- ½ tsp garlic powder
- ¼ tsp black pepper
- ¼ cup chopped parsley (for coating)
- Optional decorations: chopped red peppers, chopped green onions, dried cranberries
Note: Exact quantities are listed at the bottom of the article and available for printing; substitutions and tips are included in the notes.
Jolly Christmas Cheese Ball: How to Make
Step 1
Prepare the base
- In a mixing bowl, combine softened cream cheese, shredded cheddar, green onions, roasted red peppers, nuts (if using), garlic powder, and pepper.
- Mix until evenly combined and smooth.
- This no-bake base comes together quickly, making it ideal for busy nights or last-minute gatherings.
Step 2
Shape the ball
- Lay out a sheet of plastic wrap; scoop the cheese mixture onto it.
- Shape into a ball; wrap tightly to secure; refrigerate for at least 1 hour.
Step 3
Coat and decorate
- After chilling, roll the ball in chopped parsley until fully coated.
- Decorate with red peppers, green onions, or dried cranberries to add Christmas color.
- Slice and serve with crackers, pretzels, or veggies.

Jolly Christmas Cheese Ball: Tips for Success
- I use softened cream cheese for a smooth, creamy base; I let it soften at room temperature for about 20–30 minutes.
- Chill time is essential for clean slicing and a stable shape; I refrigerate the ball for at least 1 hour.
- Finely chop peppers and onions to avoid a chunky exterior; I aim for tiny, even dice.
- For extra crunch, mix nuts into the base or use a dual-nut coating.
- Customize heat with a pinch of cayenne or paprika; I taste and adjust to preference.
Jolly Christmas Cheese Ball: Equipment Needed
Having the right tools helps me keep this treat easy and stress-free on busy days.
- Mixing bowl and spatula
- Plastic wrap or parchment for shaping
- Knife and cutting board for embellishments
- Serving platter and crackers/vegetables for dipping
- Optional: food processor for quick chopping
Jolly Christmas Cheese Ball: Variations
- Swap in pepper jack or another cheese blend for color and melt; I love the subtle heat and bright marbling that shows on the outside.
- Omit nuts for a nut-free version; add bread crumbs for texture and a lighter crunch.
- Use olives or sun-dried tomatoes for a Mediterranean twist that pairs beautifully with pita or crostini.
- Try dairy-free cream cheese and a dairy-free cheese blend for a vegan option; keep it creamy and festive.
- Change coatings: chopped fresh herbs, sesame seeds, or finely grated citrus zest to shift aroma and brightness.
Why You’ll Love This Jolly Christmas Cheese Ball
I love how this Jolly Christmas Cheese Ball is easy, no-bake, and adaptable for many diets.
It looks stunning on a holiday platter and travels well for potlucks.
The creamy center contrasts with a crisp, herb-scented coating for festive flavor.
Plus, I can tweak it to suit picky eaters without losing charm.
Prep ahead, garnish last minute, and you free up precious time for hugs and photos.
Jolly Christmas Cheese Ball Serving Suggestions
I love serving the Jolly Christmas Cheese Ball with crackers, pretzels, and veggie sticks.
Set it on a decorative platter with gentle holiday lighting for a photo-worthy moment.
Pair with a light sparkling beverage or cranberry punch to lift the flavors.

Jolly Christmas Cheese Ball: Make-Ahead Magic for Party Prep
For the Jolly Christmas Cheese Ball, the base comes together quickly and refrigerates beautifully in advance. This makes advance prep a breeze during the busy holiday season, giving me quiet time for wrapping gifts or planning menus. I love knowing one essential step is already done when guests arrive, so I can greet them with a smile instead of a scramble.
Mix, wrap, and chill the cheese ball up to several hours ahead, while the flavors wake up and flirt with one another. This gives flavors time to meld and relieves party-day stress, so I can focus on the main dishes and still check on kids. I often prep it the day before a big gathering and let it rest in the fridge until service, because patience makes the core creamier.
If you’re hosting a large crowd, consider making two smaller balls for easy slicing and a balanced display on the platter. That setup keeps presentation balanced and helps guests grab a tidy wedge without crowding the board. I’ve found this approach makes the platter look abundant without crowding the table, and it speeds up serving during busy moments.
Decorations can be added just before serving to maintain color and brightness, so everything stays cheerful on camera. For transport, wrap the ball tightly and keep it chilled; assemble coatings on arrival to avoid wilted greens and faded brightness. These little make-ahead tricks save time and keep the party feeling effortlessly festive for everyone.
Jolly Christmas Cheese Ball FAQs
What exactly is Jolly Christmas Cheese Ball? It’s a creamy, no-bake cheese ball made with cream cheese, cheddar, green onions, roasted red peppers, and a parsley coating, perfect as a festive holiday appetizer or party snack that’s easy to prepare ahead.
How long does it keep in the fridge? It stores well covered in the fridge for up to 3 days; for best texture, recoat with parsley just before serving.
Can I make it ahead for a party? Yes—assemble the base, shape, and refrigerate up to several hours ahead; add coatings and decorations close to serving time for a fresh look.
Are substitutions allowed? Absolutely; you can swap in different cheeses, omit nuts, or use dairy-free options; keep in mind texture and flavor may shift slightly.
What should I serve it with? Crackers, pretzels, and fresh veggies work beautifully; for a more upscale vibe, pair with sliced baguette rounds and a sparkling beverage.
Final Thoughts
This Jolly Christmas Cheese Ball bundles warmth, festivity, and ease into a single, shareable bite. Its creamy center and crisp herb coating make it a standout centerpiece that saves me time without sacrificing flavor. It’s a reliable crowd-pleaser for busy families, moms on the go, and professionals hosting gatherings.
Make-ahead prep frees up hours for hugs, photos, and last-minute toasts. The Jolly Christmas Cheese Ball shines on any platter. I love that you can tailor it for picky eaters, swap cheeses, or switch coatings to fit your table’s color story. With a simple chill and a bright garnish, you’ll serve joy alongside your meal—no stress required.
Print
Jolly Christmas Cheese Ball is a 3-step irresistible bite.
- Total Time: 1 hour 15 minutes
- Yield: Serves 12 1x
- Diet: Vegetarian
Description
Jolly Christmas Cheese Ball is a festive, ultra-creamy holiday appetizer that turns simple ingredients into a cheerful centerpiece. This easy 3-step recipe blends cream cheese, cheddar, green onions, roasted red peppers, and crunchy nuts, then rolls in parsley and festive decorations. Perfect for parties, potlucks, and family gatherings, it brings joyful flavor and color to any table while pairing beautifully with crackers, veggies, or pretzels.
Ingredients
- 16 oz cream cheese, softened
- 1 cup shredded cheddar cheese
- 2 green onions, finely sliced
- ¼ cup finely chopped roasted red peppers
- ¼ cup chopped pecans or walnuts (optional for crunch)
- ½ tsp garlic powder
- ¼ tsp black pepper
- ¼ cup chopped parsley (for coating)
- Optional decorations: chopped red peppers, chopped green onions, dried cranberries
Instructions
- In a mixing bowl, combine softened cream cheese, shredded cheddar, green onions, roasted red peppers, nuts (if using), garlic powder, and pepper.
- Mix until everything is evenly combined and smooth.
- Lay out a sheet of plastic wrap and scoop the cheese mixture onto it.
- Shape it into a ball, wrapping tightly to help secure the shape.
- Refrigerate for at least 1 hour to firm up.
- Once chilled, roll the cheese ball in chopped parsley until fully coated.
- Decorate with red peppers, green onions, or dried cranberries to add Christmas colors.
- Serve with crackers, pretzels, or fresh veggies.
Notes
- You can prepare several hours ahead and refrigerate to let flavors meld.
- To add extra crunch, use a mix of pecans and walnuts or swap in sliced almonds.
- Leftovers can be stored covered in the fridge for up to 3 days.
- For a spicier kick, add a pinch of cayenne or paprika.
- Prep Time: 15 minutes
- Cook Time: 0 minutes
- Category: Appetizer
- Method: No-Bake
- Cuisine: American
Nutrition
- Serving Size: 1 ball
- Calories: Approximately 188 kcal
- Sugar: Approximately 3 g
- Sodium: Approximately 180 mg
- Fat: Approximately 18 g
- Saturated Fat: Approximately 10 g
- Unsaturated Fat: Approximately 8 g
- Trans Fat: 0 g
- Carbohydrates: Approximately 3 g
- Fiber: Approximately 2 g
- Protein: Approximately 5 g
- Cholesterol: Approximately 40 mg
Keywords: Jolly Christmas Cheese Ball, Christmas cheese ball, holiday appetizer, cheese ball recipe, party snack, no-bake cheese ball, Christmas dip, festive cheese ball