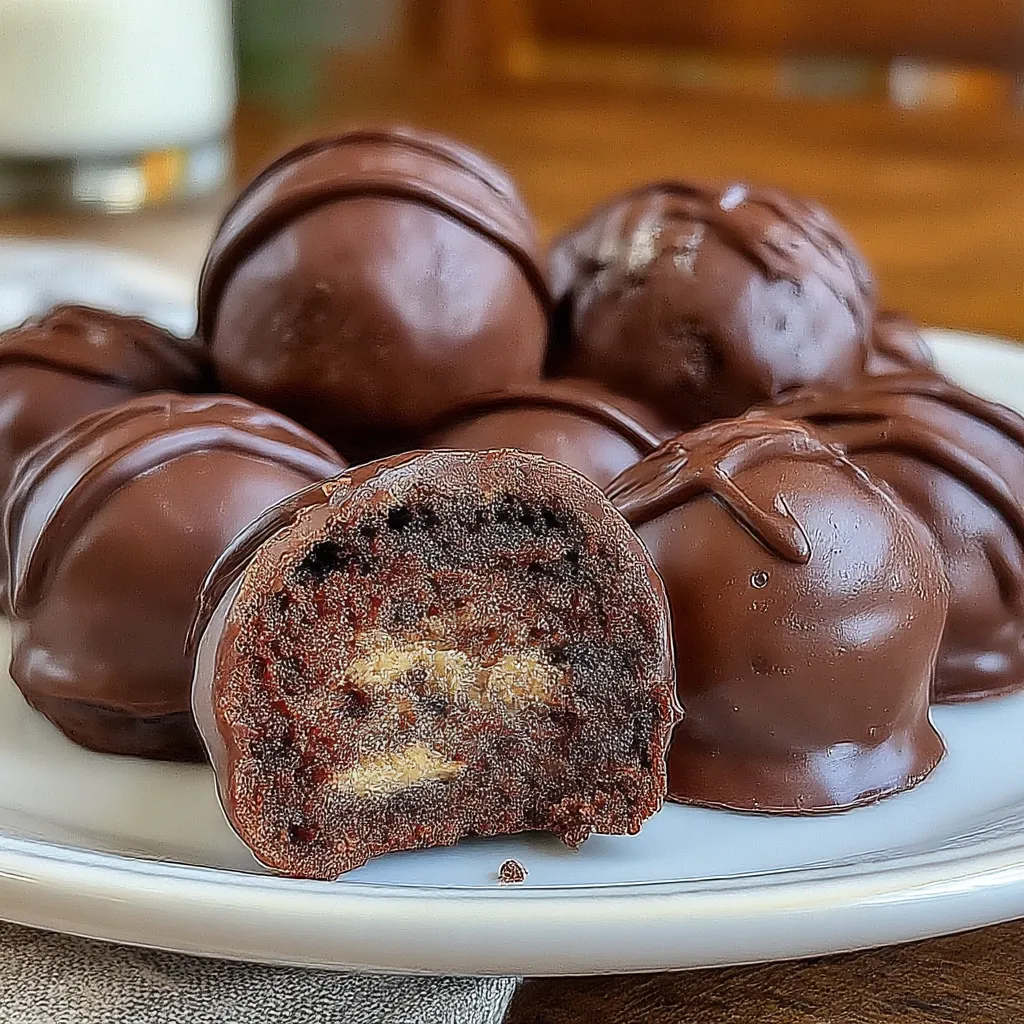
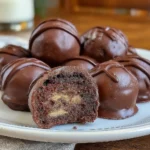
Oreo Balls are my go-to dessert when guests arrive and time is short. I run Meal Prep Ideas, and I love quick crowd-pleasers. This 3-ingredient, no-bake treat comes together fast, holds shape, and feels special. Cream cheese, Oreo crumbs, and a glossy chocolate coating gleam on a platter. I’ll walk you through how to make Oreo Balls with tips and make-ahead ideas.
Table of Contents
Table of Contents
what make this Recipe special
Oreo Balls are the kind of dessert I turn to when the clock screams and the fridge looks bare. I love how this recipe—my go-to crowd-pleaser—delivers creamy, luscious texture with almost no fuss. It fits busy weeks, potlucks, and kids’ parties, yet it still feels special on a dessert board. The bite-sized charm means seconds disappear fast, and leftovers are rare. In short, Oreo Balls are practical joy—a tiny treat that tastes like a celebration. Plus, I can pull them together in a single bowl, cleaning up in minutes, which matters when life is a juggling act for busy families.
The warm, relatable appeal
These Oreo Balls feel like a hug in a bite.
No ovens, no fuss, just pantry staples and a giggle.
They travel well for potlucks and slickly sit on a dessert board.
3-ingredient magic
Three core ingredients spark the magic.
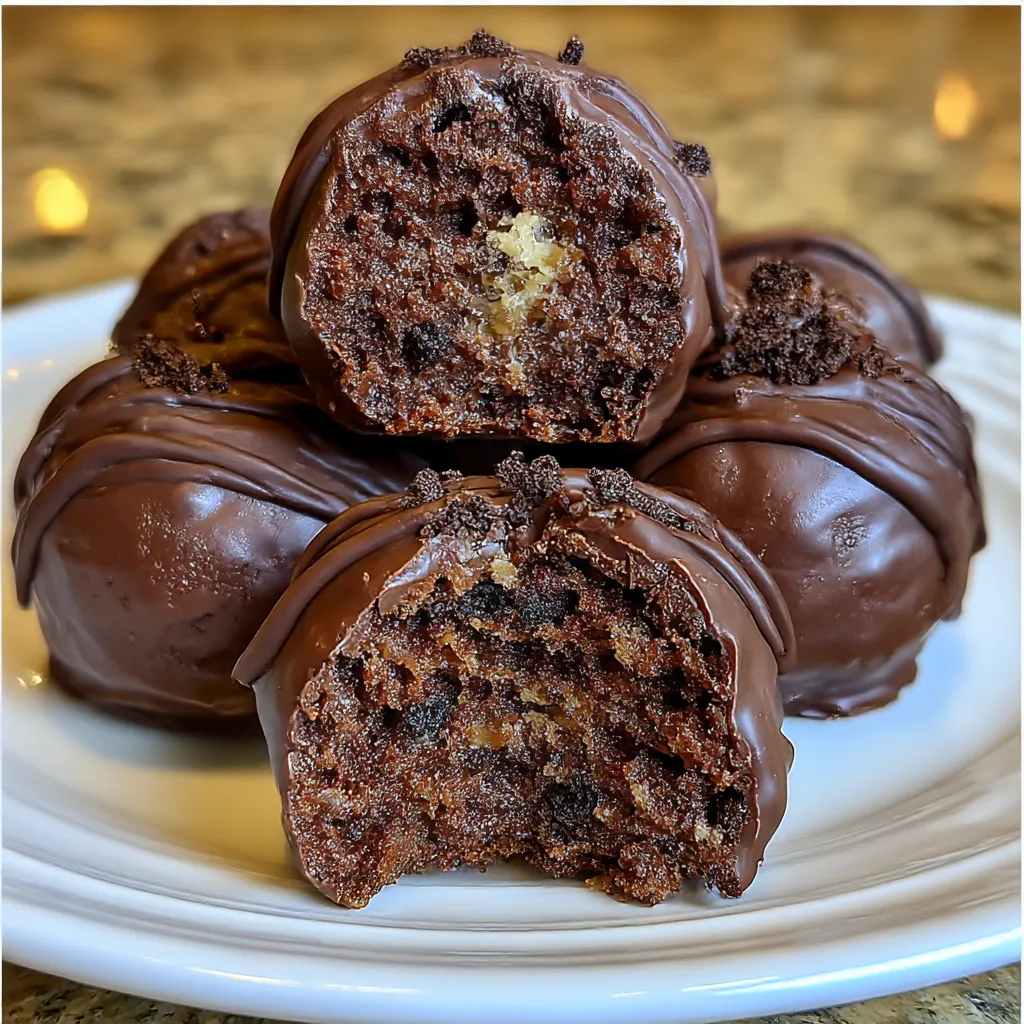
Oreos form the crumb, creamy cheese binds it, chocolate crowns the bite.
The result is smooth, glossy, and irresistibly portable.
Ingredients
Oreo Balls come together on a busy weeknight with simple pantry staples.
I love that a no-bake treat can still feel special.
Exact quantities are listed at the bottom and printable for your recipe card.
Shopping list for Oreo Balls
- 36 Oreo cookies
- 8 oz cream cheese, softened
- 2 cups semi-sweet or milk chocolate chips
Substitutions and tips
For dairy-free, swap in dairy-free cream cheese and dairy-free chocolate.
To lighten, use reduced-fat cream cheese, but keep the chill time so the centers stay firm.
Add a splash of vanilla or a pinch of espresso powder for depth without crowding the Oreo flavor.
How to Make Oreo Balls
When I want something fast that still feels special, Oreo Balls save the day.
This no-bake method keeps me in my lane: mix, roll, and dip.
A crowd-pleasing, three-ingredient dessert in under 45 minutes proves you can wow without the oven.
Start with a smooth center, a glossy chocolate shell, and a bite-size structure that travels well.
You’ll see how this no-fuss method becomes a pantry staple for holidays, potlucks, or weeknight treat days.
I’ll walk you through each step so your Oreo Balls come out perfect every time.
Step 1: Prep and pulse cookies
I load 36 Oreo cookies into my food processor and pulse until they resemble fine crumbs.
The texture matters, so I aim for powdery sand, not chunky chunks.
These Oreo Balls start here, with crumbs that will become a creamy center.
Step 2: Bind with cream cheese
I add 8 oz softened cream cheese to the Oreo crumbs and blend until the mixture is smooth and cohesive.
If it looks a bit sticky, I chill it for 10 minutes to help it hold its shape.
This is where the binder magic happens, turning crumbs into dough for Oreo Balls.
Step 3: Shape into bite-sized balls
I scoop the dough with a teaspoon or small scoop and roll balls about 1 inch in diameter.
Place them on a parchment-lined tray as you go, keeping them evenly spaced.
I chill the tray for 20–30 minutes to firm the centers before dipping.
Step 4: Chill and smooth coat
If you’re dipping later, keep the chocolate ready by melting chips in short bursts in the microwave, stirring until glossy.
Chill the formed balls to keep coatings smooth; firm centers mean cleaner, shinier shells.
When you’re ready, you’ll see a glossy shell emerge from all that chill-time.
Step 5: Dip and set
I dip each chilled ball into melted chocolate, coating completely and letting the excess drip back into the bowl.
Place back on parchment and let the coating set at room temperature or in the fridge.
Serve chilled or at room temperature for best texture in every bite.
Tips for a glossy finish
- Keep the chocolate smooth and at a steady heat; too hot or cold dulls the shine.
- Dry the balls well before dipping to avoid speckled coating.
- For extra gloss, whisk in a teaspoon of vegetable shortening or coconut oil.
- Tap the dipped balls lightly to remove air bubbles and excess coating.
Tips for Success
- For the smoothest center, I use a food processor to create ultra-fine Oreo crumbs—the reliable base for Oreo Balls.
- If it’s sticky, I chill the mixture briefly before rolling; a short fridge stop firms the dough nicely.
- I roll the balls evenly to ensure a uniform coating and bite-sized pieces in every bite.
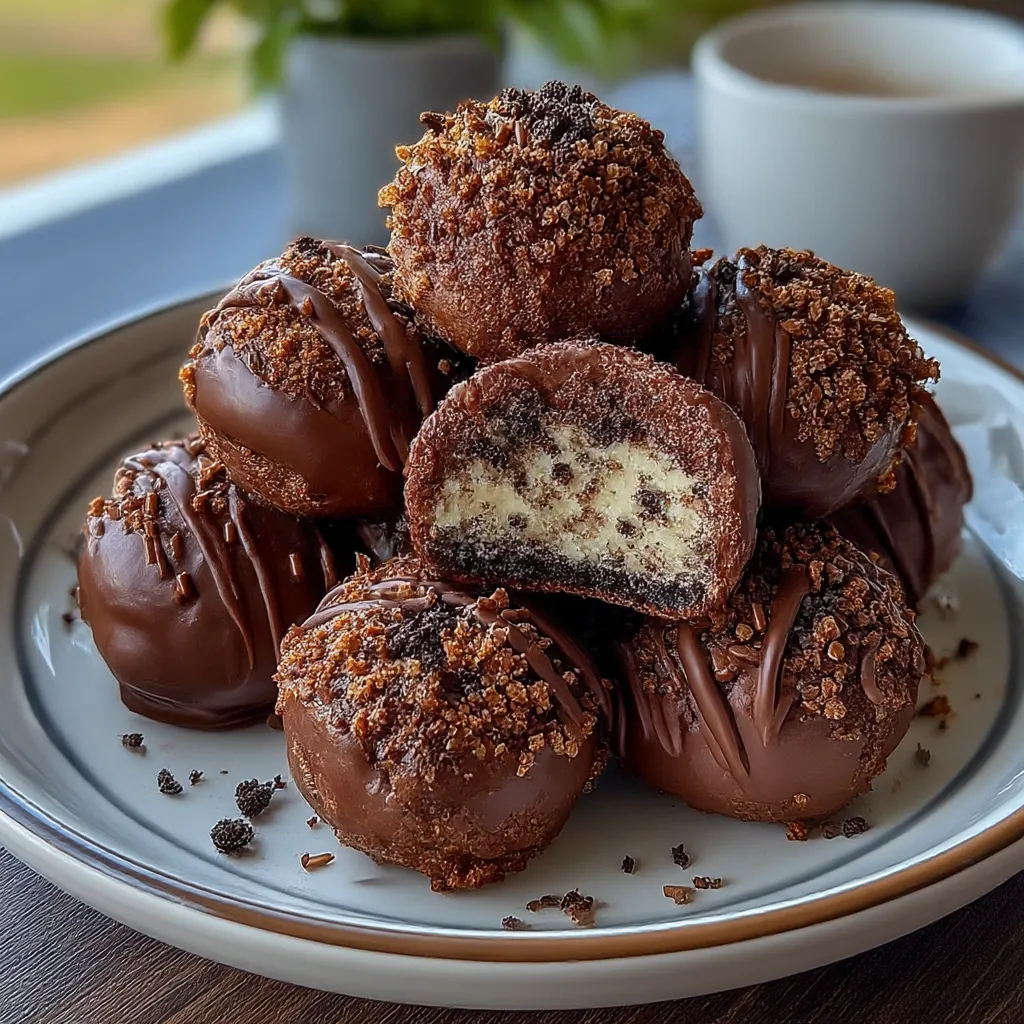
- I dust with cocoa powder or sprinkles for a festive presentation on my dessert board.
- If the coating cracks, I melt a touch more chocolate and re-dip for shine.
Equipment Needed
- Food processor (or crush cookies by hand in a heavy bag and rolling pin)
- Mixing bowl and spatula
- Parchment paper or silicone mat for easy removal
- Microwave-safe bowl for melting chocolate
- Forks or dipping tool to coat the balls
- Cooling rack or extra tray to set dipped treats
Variations
- I switch up the coating with white chocolate or milk chocolate for a lighter twist on Oreo Balls.
- I add a pinch of almond extract or peppermint for a seasonal zing that doesn’t mask the Oreo flavor.
- I roll finished balls in crushed nuts, sprinkles, or cocoa powder to add texture and color to Oreo Balls.
- I dip half the ball in one chocolate and the other half in a contrasting color for a playful two-tone look.
- I make dairy-free by swapping in vegan cream cheese and dairy-free chocolate—great for guests with dairy restrictions.
Why You’ll Love This Oreo Balls
I love how Oreo Balls fit my chaotic week. They come together fast, need no oven, and still feel like a celebration on the dessert board. The creamy center, glossy shell, and bite-size charm make every platter look effortless.
- Quick and no-bake, perfect for my busy weeks and last-minute gatherings with minimal fuss
- Three-ingredient base means less shopping and less waste, saving me time and trips to the store
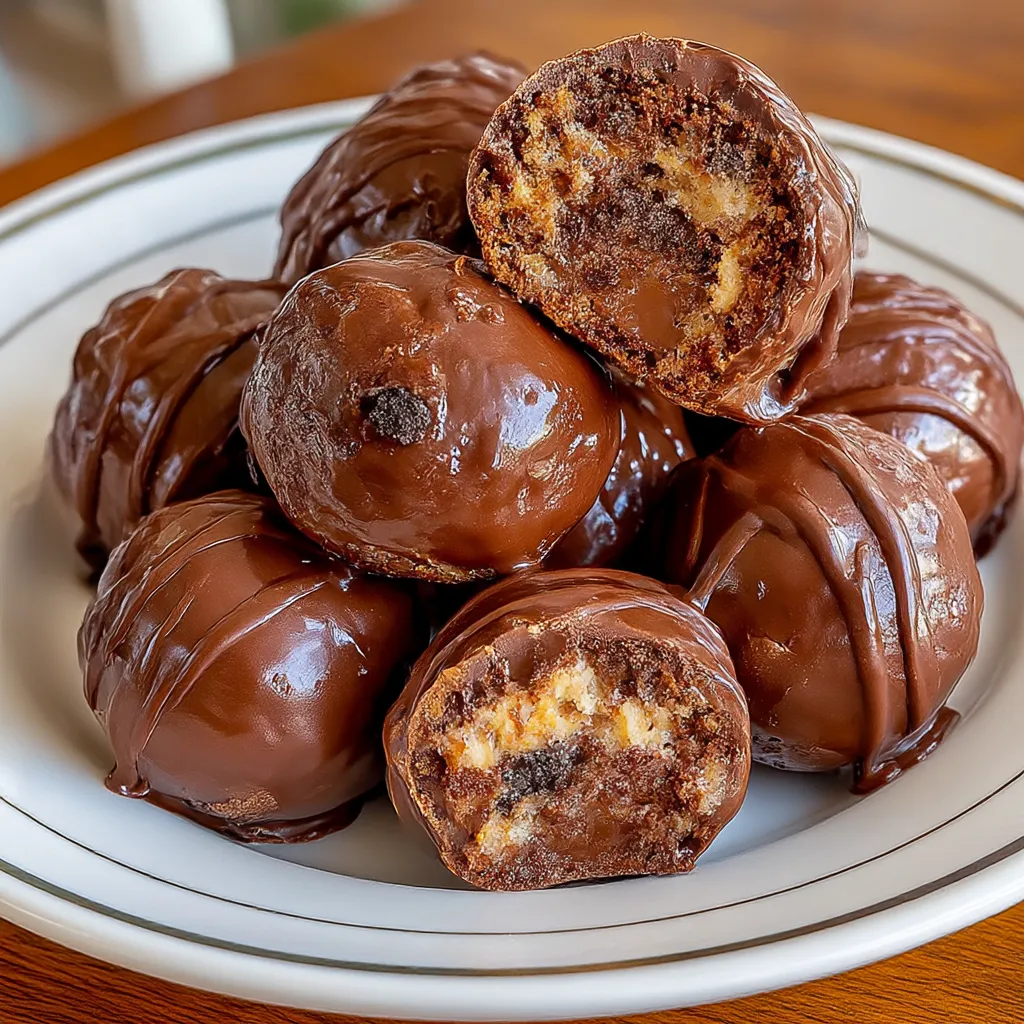
- Foolproof texture: creamy center with a glossy, restaurant-worthy chocolate shell
- Kid-friendly and crowd-pleasing on any party dessert board
Serving Suggestions
Oreo Balls shine on a dessert board; here are my easy serving ideas.
- Present on a dessert board with berries.
- Pair with espresso, coffee, or sparkling water.
- Arrange on a tray with parchment backdrop for Pinterest-worthy plating.
- Serve chilled for a firmer bite or at room temperature for creamier centers.
Make-Ahead and Storage Tips for Oreo Balls
Oreo Balls are forgiving when planning ahead. Prepare and shape the balls up to 1 day before serving; store them in an airtight container in the fridge. This lets you spread out prep and still serve fresh, glossy bites.
Dip timing matters. Dip in chocolate the same day you shape them, or wait until the next day. Once dipped, keep the tray on parchment and refrigerate the coated balls for up to 1 week.
For longer storage, freeze uncoated Oreo Balls on a parchment-lined tray, then transfer to an airtight container. Thaw in the fridge before dipping for best shine.
If coating looks dull after thawing, re-melt a small amount of chocolate and re-dip for a glossy finish.
FAQs
Can I use gluten-free Oreos or other cookie crumbs?
Yes—Oreo Balls stay true to their three-ingredient charm when you swap in gluten-free Oreos or other gluten-free cookies. Pulse the cookies to fine crumbs, then proceed with the cream cheese and chocolate as usual; the texture will be slightly softer than with regular Oreos, but the flavor remains rich and familiar.
Can I make these dairy-free or vegan?
Absolutely. To make Oreo Balls dairy-free or vegan, substitute dairy-free cream cheese and dairy-free chocolate chips for the coating. The rest of the steps stay the same, and you’ll still enjoy that creamy center with a glossy shell. Just double-check labels for vegan status.
How do I prevent the coating from cracking?
Keep the centers well chilled and coat in a smooth, not too thick layer. Dip when the balls are firm, melt chocolate in short intervals, and if any cracks appear, re-dip with a fresh coat of chocolate (a splash of shortening can help your coating glide and shine).
How long do Oreo Balls keep in the fridge?
In the fridge, Oreo Balls stay fresh for up to a week when stored in an airtight container. For best texture, keep them chilled until serving and allow them to come to room temperature for creamier centers if you like.
Oreo Balls remind me joy can be simple for busy mornings.
I love how they come together fast, with zero oven needed.
Sharing them feels like a tiny celebration in every home.
They travel well and glisten on a board today, friends.
Creamy centers meet a glossy shell.
Every bite feels like a celebration you share.
If chaos rules the week, these save it.
I prep, chill, and dip with calm.
They scale for crowds or quiet nights.
Try Oreo Balls and tell me your twists.
I love hearing ways you customize.
Here’s to bites that spark big, bright smiles.
Oreo Balls deliver 3-Ingredient No-Bake Creamy Delights.
- Total Time: 45 minutes
- Yield: 24 balls 1x
- Diet: Vegetarian
Description
Oreo Balls are the ultimate 3-ingredient, no-bake dessert perfect for holidays, parties, or a quick treat. Creamy centers of softened cream cheese are rolled with Oreo crumbs and coated in glossy chocolate for bite-sized decadence. Simple to make with a food processor, no oven required, and they chill fast for easy entertaining. Elegant on a dessert board and kid-friendly, these Oreo Balls wow guests with rich flavor in every bite. Ideal for Pinterest-worthy party snacks.
Ingredients
- 36 Oreo cookies
- 8 oz cream cheese, softened
- 2 cups semi-sweet or milk chocolate chips
Instructions
- Place Oreo cookies in a food processor and pulse until fine crumbs form.
- Add softened cream cheese and blend until fully combined and smooth.
- Scoop mixture and roll into small bite-sized balls. Place on a parchment lined tray.
- Refrigerate for 20–30 minutes until firm.
- Melt chocolate chips in 30 second intervals in the microwave, stirring until smooth.
- Dip each chilled ball into melted chocolate, coating completely.
- Place back on parchment paper and let set at room temperature or refrigerate until firm.
- Serve chilled or at room temperature.
Notes
- Chill the balls 20–30 minutes before dipping for cleaner coating.
- If the mixture is too sticky, refrigerate 10 minutes and try again.
- Line the tray with parchment for easy removal.
- For ultra-smooth coating, add a teaspoon of shortening to the melted chocolate (optional).
- Store leftovers in an airtight container in the fridge for up to 1 week.
- Prep Time: 15 minutes
- Cook Time: 0 minutes
- Category: Dessert
- Method: No-Bake
- Cuisine: American
Nutrition
- Serving Size: 1 ball (about 14 g)
- Calories: 90
- Sugar: 6 g
- Sodium: 55 mg
- Fat: 6 g
- Saturated Fat: 3.5 g
- Unsaturated Fat: 2.5 g
- Trans Fat: 0 g
- Carbohydrates: 9 g
- Fiber: 0 g
- Protein: 2 g
- Cholesterol: 10 mg
Keywords: Oreo Balls, 3-ingredient dessert, no-bake, chocolate-coated bites, Oreo cream cheese bites, party dessert, easy dessert, holiday treats